Metasploitable 2: Lab Setup
Metasploitable 2 is a vulnerable server created for pentesting training. In this suite of articles I’ll guide you through the vulnerabilities and exploit them with the metasploit framework and other tools.
Setting our environment
Our environment will be composed of several virtual machines. Our first task is making sure out host machine is capable of running multiple guest OSes.
Hypervisor
There are several hypervisers available (VMWare, Virtualbox, Hyper-V, etc). I’m currently running Virtualbox but feel free to chose your own.
Kali Linux
It’s possible to download and install Kali Linux from the project’s site. I advise to download a preconfigured ISO from Offensive Security (https://www.offensive-security.com/kali-linux-vm-vmware-virtualbox-image-download/).
Update
Kali has lots of tools for pentesting. It’s paramount to keep them updated. Open the terminal and type:
$ apt-get update && apt-get upgrade -y && apt-get dist-upgrade -y && apt-get autoremove -y
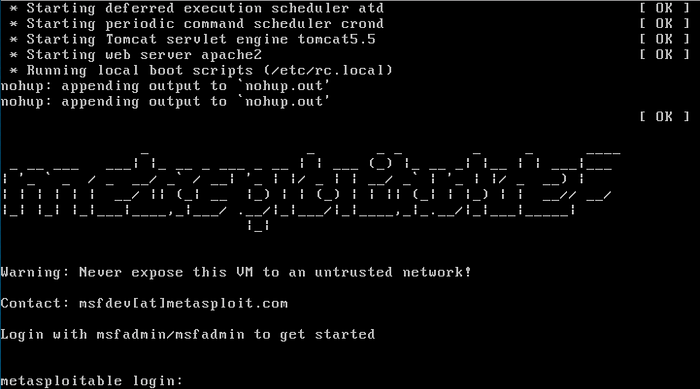
Metasploitable
The metasploitable ISO is availble in Rapid 7’s site or on Sourceforge (http://sourceforge.net/projects/metasploitable/files/Metasploitable2/). The ISO is VMWare format.
Virtualbox (optional)
Unzip the file. Create a new VM. Choose Linux->Ubuntu (64bit), give it at least at least 1024MB RAM and do not create a HDD. Wait and add the disk *.vmdk:

Change the network configuration:

Network
Start the machine and determine its IP address:
$ ip address

Lets now start our pentest.

Worspace settings
Now open the terminal and prepare the DB:
$ sudo service postgres start
$ msfdb init
$ msfconsole

Lets check for DB status, create our workspace and set our global RHOSTS:
> db_status
> help workspace
> workspace -a metaploitable2
> setg RHOSTS 192.168.231.109
> save
Finnaly, we’ll check for open ports in metasploitable. We know it’s a vulnerable machine so let’s expand our port scan:
> db_nmap -p- 192.168.231.109

We can use nmap scan, or msf syn scanners:
> use auxiliary/scanner/portscan/syn
> run


Comments